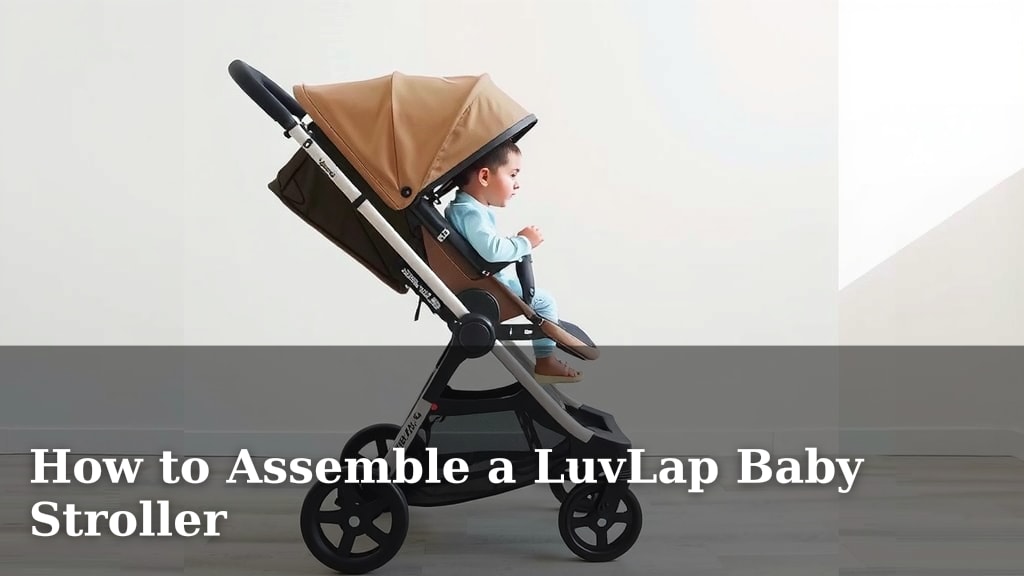
How to Assemble a LuvLap Baby Stroller
Assembling your LuvLap baby stroller is a straightforward process. You can typically get it set up in under 30 minutes with just a few simple steps. Most LuvLap models are designed for easy, tool-free assembly.
We know getting your baby’s stroller ready can feel a bit overwhelming. That’s why we’ve gathered the most important steps and tips. You’ll be out and about with your little one in no time, enjoying your new ride.
- Unbox and check all parts.
- Attach wheels securely.
- Install the seat and canopy.
- Buckle up the harness.
- Test the brakes and folding mechanism.
Let’s walk through exactly how to put your LuvLap stroller together, step by step, so you can start making memories.
Getting Your LuvLap Stroller Ready: A Simple Guide
Assembling your LuvLap stroller shouldn’t feel like building a rocket ship. Most LuvLap models are designed for tool-free assembly. You’ll find most parts snap or click into place. We’ve found that checking everything before you start makes the process even smoother. Let’s get your new stroller ready for adventures.
Unboxing and Identifying Parts
Your stroller likely arrived in a sturdy box. First things first, let’s carefully open it up. You don’t want to accidentally scratch any pieces. Lay everything out on a clean, flat surface. A large rug or a clean floor works best. This makes it easy to see all the components.
What to Look For
Inside the box, you’ll typically find the main stroller frame, wheels, the seat unit, a canopy, and maybe a parent tray or child bar. Look for a user manual. It’s your best friend for identifying every single part. We recommend checking that all listed components are present before you begin.
- Main stroller frame
- Front and rear wheels
- Seat fabric or unit
- Canopy
- Safety harness
- Parent console or tray (if applicable)
- Child bar or bumper bar (if applicable)
- User manual
Sometimes, smaller items like screws or adapters might be tucked away. Double-check all plastic bags and compartments. If anything seems missing, that’s when you’d reach out to customer support. It’s better to catch this now, right?
Attaching the Wheels: Rolling Into Action
The wheels are usually the first thing you’ll attach. They often have a simple push-and-click mechanism. This means no tools are needed! You’ll hear a distinct ‘click’ when they are properly secured. This sound is reassuring, isn’t it?
Rear Wheels
Locate the rear wheel attachment points on the stroller frame. These are usually larger than the front ones. Align the axle of each rear wheel with its corresponding slot on the frame. Push firmly until you hear that satisfying ‘click.’ Give them a gentle tug to ensure they’re locked in place. We’ve found this step is usually very quick.
Front Wheels
Front wheels can sometimes be a bit different. Some swivel, while others might have a lock feature for rough terrain. Find the front wheel housings on the stroller. Often, they slide or click into these housings. Again, listen for the ‘click’ sound to confirm they are secure. Many models allow you to lock the front wheels for better stability on uneven surfaces.
Swivel vs. Fixed Front Wheels
Many LuvLap strollers offer swivel front wheels. These offer excellent maneuverability in tight spaces, like navigating busy aisles. However, for jogging or walking on gravel, you might prefer to lock them. Your stroller’s manual will show you how to engage or disengage this locking mechanism, usually a small lever or button near the wheel.
Installing the Seat and Canopy: Comfort and Shade
Now it’s time to make the stroller comfortable for your little one. The seat unit needs to be attached securely to the frame.
Securing the Seat Unit
Look for attachment points on the stroller frame, often on the sides or back. The seat unit will have corresponding slots or clips. Line them up carefully and push down or slide until the seat unit locks into place. You might need to push firmly on specific corners. A secure seat is essential for safety.
Attaching the Canopy
The canopy provides shade and protection from the elements. It usually attaches to the stroller frame near the top. You might find clips that snap onto the frame or posts that slide into designated slots. Some canopies are already attached to the seat fabric. Simply unfold it and ensure it’s taut and secure. It should provide good coverage.
Harnessing for Safety: Buckle Up!
The safety harness is a critical component. It keeps your child secure while you’re on the go. Most LuvLap strollers feature a five-point harness system.
Understanding the Five-Point Harness
This harness has two shoulder straps, two hip straps, and a buckle between the legs. All five points connect to a central buckle. This design distributes the force of any potential impact and prevents your child from slipping out. Research from organizations like the American Academy of Pediatrics consistently highlights the importance of properly used safety restraints for children (AAP).
Adjusting and Buckling
Thread the shoulder and hip straps through the designated slots on the seat. You’ll need to adjust the strap length so they fit snugly but comfortably. Buckle the two sides together, then connect them to the central buckle. You should hear distinct clicks for each point. Ensure the straps aren’t twisted. A snug fit means you can’t pinch excess webbing at the shoulder.
Final Checks and Ready to Roll!
Before you head out for your first outing, a few final checks are a good idea. These ensure everything is working correctly and safely.
Testing the Brakes
Locate the brake mechanism, usually on the rear wheels. Most LuvLap strollers have a one-step brake that locks both rear wheels simultaneously. Push down firmly on the brake lever until you hear it click into place. Gently try to rock the stroller forward to ensure the wheels are locked. To release, simply lift the lever. Always test the brakes before each use.
Testing the Folding Mechanism
Familiarize yourself with how your stroller folds and unfolds. This is usually done via levers or buttons on the handle or frame. Practice folding it a couple of times in your home. Ensure it folds smoothly and locks in the folded position if designed to do so. Check that it also unfolds easily and locks securely.
Quick Checklist Before Your First Trip:
- All wheels are securely attached and spin freely (or are locked if intended).
- The seat unit is firmly in place.
- The canopy is attached and provides good coverage.
- The safety harness is correctly threaded and buckles securely.
- Brakes engage and disengage properly.
- Folding and unfolding mechanism works smoothly.
You’ve done it! Assembling your LuvLap stroller is a manageable task. With these steps, you’ve ensured it’s safe, secure, and ready for all your family’s adventures. Enjoy exploring with your little one!
Conclusion
You’ve successfully navigated the assembly of your LuvLap baby stroller. Remember, a properly assembled stroller means safer outings for your little one. We’ve covered the essential steps, from checking all parts to securing the harness and testing the brakes. Your stroller is now ready to be part of your family’s adventures. Before your first trip, take a moment for a quick final check of all components. Enjoy making new memories with your little explorer!
Frequently Asked Questions
How long does it typically take to assemble a LuvLap stroller?
Most LuvLap strollers are designed for quick, tool-free assembly. You can usually have yours ready to go in under 30 minutes. Just follow the steps, and you’ll be out and about in no time.
What if I can’t find a part in the box?
Carefully check all packaging, as small items can sometimes be tucked away. If you’re still missing a component after a thorough check, your best next step is to contact LuvLap customer support. They can help you identify the part and arrange for a replacement.
Are LuvLap strollers truly tool-free to assemble?
Yes, the majority of LuvLap models are engineered for tool-free assembly. You’ll find that most parts click or snap securely into place. This design makes the setup process much simpler and faster for parents.
How do I know if the wheels are attached correctly?
You’ll usually hear a distinct ‘click’ sound when the wheels are properly secured onto the stroller frame. After you hear the click, give each wheel a gentle tug to ensure it’s locked firmly in place and won’t come off.
What is the importance of testing the brakes and folding mechanism?
Testing these features before your first outing is vital for your child’s safety and your convenience. Ensuring the brakes engage securely prevents accidental rolling, and a smooth folding mechanism makes transport and storage much easier.
![10 Baby Stroller Brands Best [2026]](https://bestbabystrollerjudge.com/wp-content/uploads/2026/09/10-baby-stroller-brands-best-2026-featured-768x432.jpg)
![10 Best Double Stroller For Toddler And Baby [2026]](https://bestbabystrollerjudge.com/wp-content/uploads/2026/08/10-best-double-stroller-for-toddler-and-baby-2026-featured-768x432.jpg)