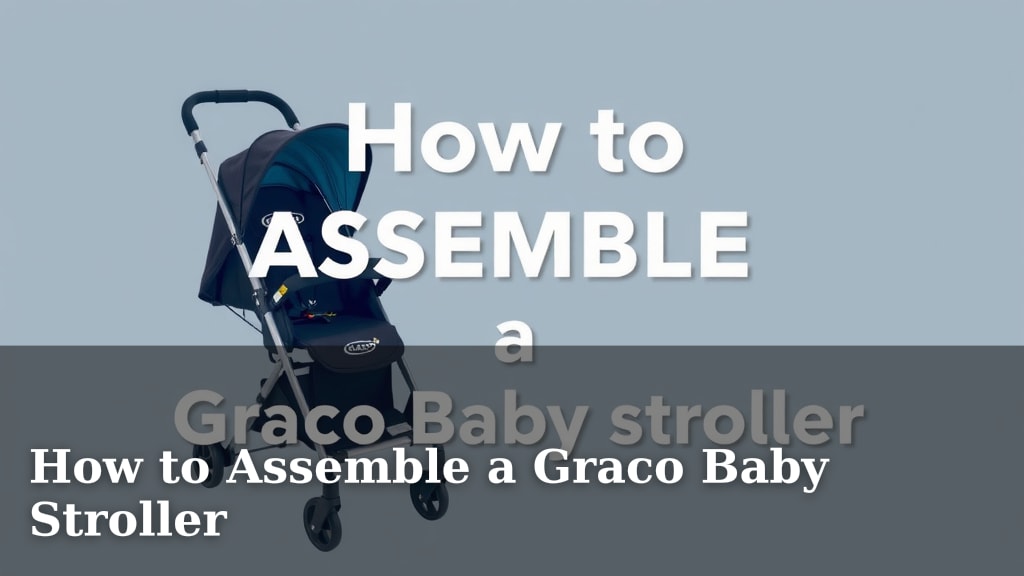
How to Assemble a Graco Baby Stroller
Assembling your new Graco baby stroller is a straightforward process that usually takes less than an hour. You’ll want to have a few simple tools ready, and the instruction manual is your best friend. Most Graco models are designed for easy setup right out of the box.
Getting your stroller ready means getting out and about with your little one sooner. We found that understanding a few key steps makes all the difference. Think of it as building a base for many happy adventures together.
- Unbox and check all parts.
- Follow the step-by-step manual.
- Secure the frame and wheels first.
- Attach the seat and canopy last.
- Test brakes and harness before use.
Let’s walk through exactly how to get your Graco stroller assembled, step by step.
Getting Your Graco Stroller Ready: A Step-by-Step Guide
Assembling your Graco stroller might seem a little daunting at first. But we found that with a clear guide, it’s actually quite manageable. This guide breaks down the common assembly steps for most Graco models. You’ll have your stroller ready for walks and errands in no time.
Unboxing and Inventory: What’s Inside the Box?
First things first, let’s get everything out of the box. Carefully unpack all components. You’ll likely find the stroller frame, wheels, seat, canopy, and maybe a parent console or child tray. Lay everything out on a clean, flat surface, like your living room floor. This makes it easier to see what you have.
Next, it’s time for a quick inventory. Grab your instruction manual and check it against the parts list. Make sure no pieces are missing or damaged. Sometimes, small parts can be tucked away in pockets or under protective packaging. It’s important to ensure everything is accounted for before you start. This saves a lot of hassle later.
Gathering Your Tools: What You Might Need
Many Graco strollers are designed for tool-free assembly, which is a real lifesaver. However, some models might require a screwdriver, usually a Phillips head. Check your manual to be sure. If tools are needed, gather them before you begin. Having everything ready means you can focus on the assembly itself. It’s like preparing your ingredients before cooking a meal.
We found that having a comfortable spot to work is also helpful. You might be kneeling or bending for a bit. If you have a large enough space, you can assemble it standing up. Just make sure you have enough room to maneuver the stroller parts. A little preparation goes a long way.
Building the Foundation: The Stroller Frame and Wheels
The frame is the backbone of your stroller. Most Graco frames unfold easily. You might need to press a button or pull a lever to release a lock. Once it’s open, ensure it clicks securely into place. This is a critical safety step. A stroller that isn’t fully locked can be unstable.
Attaching the wheels is usually the next step. The wheels often click into designated slots on the frame. You’ll hear a distinct “click” when they are properly secured. Many models have rear wheels that slide on and front wheels that attach to the swivel housing. Always double-check that each wheel is firmly attached. Wobbly wheels are a sign something isn’t quite right.
Some strollers have a brake system that attaches to the rear wheels. Follow your manual carefully for this. Getting the brakes right is essential for safety. Think of it as putting on the parking brake before you start a drive.
Adding Comfort and Convenience: Seat, Canopy, and Accessories
Once the frame and wheels are solid, it’s time to add the seat. The infant seat or toddler seat usually slides onto the frame. There are often specific connection points or clips. Make sure it locks into place securely. Many seats can be oriented forward or rear-facing, so check your manual for how to set that up.
The canopy provides shade for your little one. It typically attaches to the stroller frame or the seat. This might involve snapping it on or sliding rods into place. Ensure the canopy is taut and covers the intended area. This is important for protecting your baby from the sun, as guidelines from sources like the CDC suggest limiting sun exposure.
Next, consider any accessories like a parent console or child tray. The parent console usually snaps onto the stroller handles. Child trays often click into the front of the seat. These are usually the final pieces to attach. They add convenience for parents and your child.
Attaching the Harness System
The five-point harness is a vital safety feature. It secures your child in the seat. The harness straps usually thread through slots in the seat. You’ll connect the shoulder straps to the waist straps and then to the buckle. Make sure the straps are adjusted to fit your child snugly. A loose harness can be dangerous. Research from organizations like the American Academy of Pediatrics emphasizes proper harness use for safety.
Final Checks: Ensuring Everything is Secure
Before you take your stroller for its first spin, a thorough safety check is a must. Gently push and pull on all attached parts. Ensure nothing feels loose or wobbly. Test the brakes by engaging them and trying to move the stroller. They should lock the wheels firmly. Release the brakes and confirm the stroller rolls freely.
Now, test the harness. Buckle it up and pull on the straps. Can you easily adjust them? Do they stay in place? Your stroller manual will have specific instructions on how to adjust the harness height as your child grows. This is a really important detail for continued safety.
Common Graco Stroller Assembly Scenarios
While models vary, some assembly steps are common across many Graco strollers. Let’s look at a few typical situations you might encounter.
The Lightweight Travel System
These systems often consist of a stroller and a compatible infant car seat. The car seat usually clicks directly onto the stroller frame, sometimes with adapters. The stroller itself might just need wheels attached and the seat fabric secured. They are often designed for quick setup right out of the box.
The All-Terrain Jogging Stroller
Jogging strollers typically have larger wheels, often three of them. The front wheel might be fixed or lockable for stability while running. You’ll need to attach these wheels securely. The frame might have a more robust folding mechanism. Ensure all locking levers are engaged.
The Convertible Stroller
These strollers can adapt as your child grows. They might have a seat that converts to a bassinet or can be reversed. Assembly involves setting up the frame and then configuring the seat unit according to your needs. This might involve re-threading straps or attaching different fabric panels.
Troubleshooting Common Assembly Issues
Sometimes, things don’t go exactly as planned. Don’t worry, it happens! Here are a few common issues and how to address them.
- Wheel won’t click: Ensure you are pushing it into the correct slot. Check for any debris blocking the attachment point. Sometimes a firm, confident push is all it needs.
- Frame won’t unfold/fold: Double-check that all safety locks are disengaged. Look for release levers or buttons. Make sure no fabric is caught in the mechanism.
- Harness seems too loose: Confirm you have the straps threaded through the correct slots for your child’s height. Adjust the sliders until snug.
Quick Checklist Before Your First Outing
To make sure your stroller is perfectly ready, run through this quick checklist:
- All wheels are securely attached and spin freely.
- Brakes engage and disengage properly.
- The stroller frame is locked open and feels sturdy.
- The seat is firmly attached to the frame.
- The canopy is secure and positioned correctly.
- The harness is properly threaded and adjustable.
With these steps, your Graco stroller should be assembled and ready for many adventures together!
Conclusion
You’ve now navigated the assembly of your Graco stroller! Remember, taking it step-by-step ensures a safe and secure ride for your little one. We found that following the manual and performing a final check are the most important actions. You’re well-prepared to get out and enjoy your new stroller. Your next adventure awaits!
Frequently Asked Questions
What if I can’t find the instruction manual for my Graco stroller?
Don’t worry if your manual is missing. You can usually find a digital copy on the Graco website by searching for your specific stroller model. This PDF will guide you through all the assembly steps.
How do I know if the wheels are attached correctly?
When wheels are attached properly, you should hear a distinct “click” sound. They should also feel very secure and not wobble at all when you gently push or pull them. Always give them a good tug to be sure.
Can I assemble the stroller without any tools?
Many Graco strollers are designed for tool-free assembly. However, some models might require a Phillips head screwdriver for certain parts, like a parent console or tray. Always check your stroller’s manual first to see if any tools are needed.
My stroller seat seems a bit loose. What should I do?
Ensure the seat is aligned with the connection points on the stroller frame. Push down firmly until you hear a click or feel it lock into place. Double-check that no locking tabs are obstructed and that you’ve used the correct slots for attachment.
Is there anything I should do after assembly but before the first use?
Absolutely! Before your first outing, perform a thorough safety check. Test the brakes vigorously, ensure the frame is fully locked open, and check that all attachments like the seat and canopy are secure. A quick test walk around your home is a good idea.
![10 In 1 Baby Stroller [2026]](https://bestbabystrollerjudge.com/wp-content/uploads/2026/09/10-in-1-baby-stroller-2026-featured-768x432.jpg)