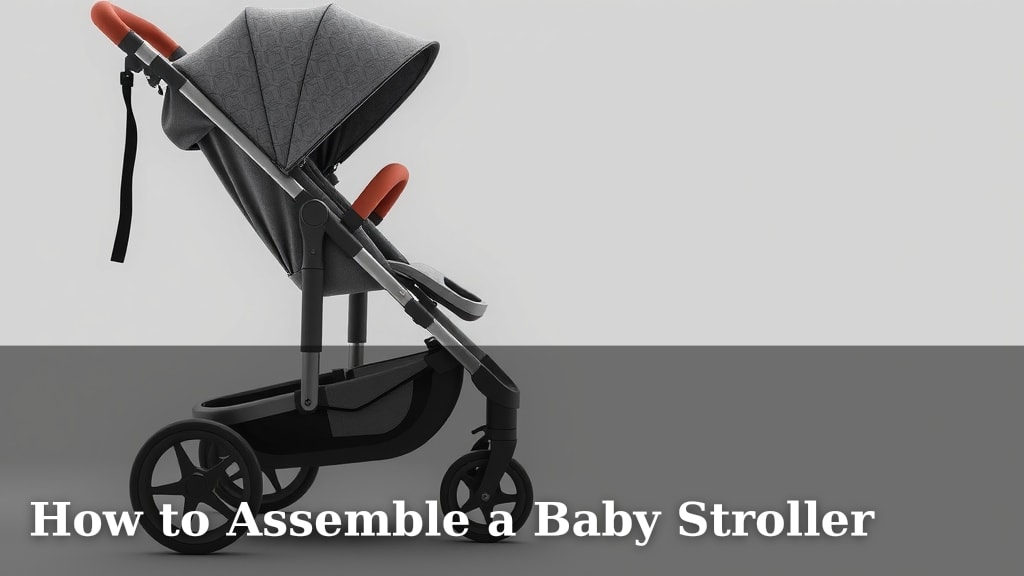
How to Assemble a Baby Stroller
Assembling a baby stroller might seem daunting, but it’s a manageable task you can tackle with a little patience. Most strollers come with clear instructions and require basic tools, making the process straightforward. Just follow the steps carefully, and you’ll have your stroller ready for your little one in no time!
Before you start, take a moment to unpack everything and check against the parts list. Having a clean, open space will make assembly much easier and prevent frustration. Remember, taking your time now means a safe and secure ride for your baby later.
- Unpack and check all parts first.
- Read the instruction manual thoroughly.
- Clear a spacious area for assembly.
- Assemble step-by-step, checking connections.
- Test the stroller before first use.
Ready to get started? Let’s walk through exactly how to assemble your baby stroller, step by step.
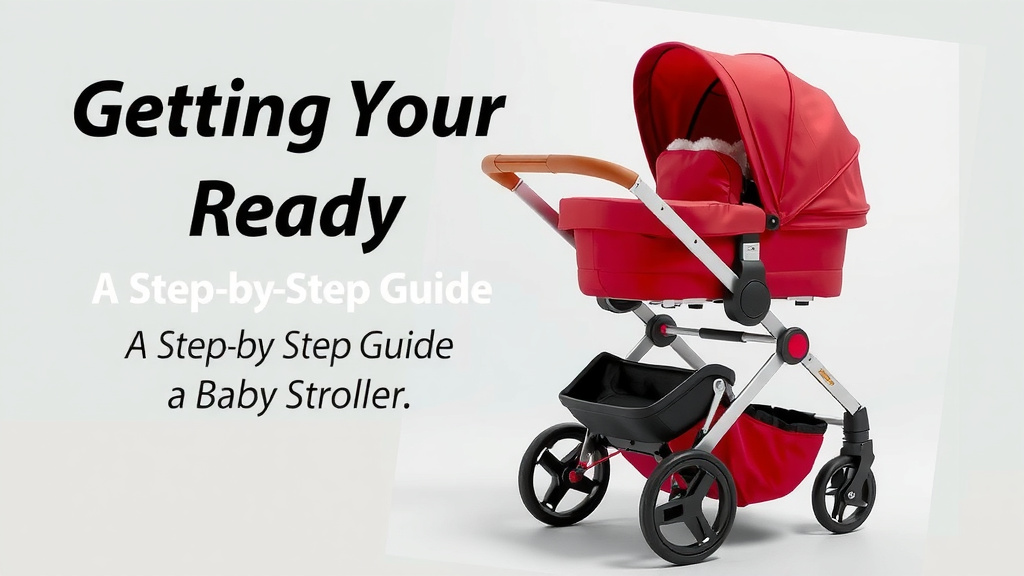
Getting Your Stroller Ready: A Step-by-Step Guide
So, you’ve brought home your new baby stroller! It’s exciting to think about all the adventures you’ll have. But first, we need to assemble it. This process might seem a little intimidating, but don’t worry. We’re here to walk you through it, making it feel like a breeze. Most strollers are designed with easy assembly in mind. You probably won’t need any fancy tools.
Step 1: Unpacking and Inventory Check
The very first thing you should do is carefully unpack all the components from the box. Lay them out in a clear, open space. This helps you see everything you have. Next, locate the instruction manual. It’s your best friend for this task. Find the parts list within the manual. Now, check each item you’ve unpacked against this list. Make sure you have everything and that nothing is damaged. Missing a small bolt can halt your progress completely, so this step is super important.
Step 2: Reading the Instructions (Yes, Really!)
We know it’s tempting to just start clicking pieces together. But taking a few minutes to read the instruction manual thoroughly can save you a lot of headaches. Pay attention to any diagrams or illustrations. They often show you the correct orientation of parts. Some strollers have specific steps for attaching wheels or the canopy. Knowing these upfront prevents mistakes.
Step 3: Assembling the Frame and Base
Most strollers begin with assembling the main frame. This is the backbone of your stroller. You’ll likely need to connect different sections of the frame. Follow the manual closely here. You might hear some satisfying clicks as pieces lock into place. Ensure each connection is secure before moving on. A wobbly frame is no good for a precious cargo!
Attaching the Wheels
Wheels are usually the next big step. They might click on, or you might need to insert a bolt and secure it. Some strollers have front wheels that swivel, while others are fixed. Make sure you attach them correctly as per the instructions. Check that they spin freely but are also firmly attached. You don’t want a wheel coming off during a stroll!
Step 4: Adding the Seat and Harness System
Once the base is stable, it’s time to add the seating. This could be a fabric seat that attaches to the frame or a bassinet-style carriage. Refer to the manual for the exact method. The harness system is critical for safety. Ensure all straps are correctly threaded and buckle securely. You’ll want to test the buckles to make sure they latch and unlatch properly. Think of it like buckling up your little one in their car seat; it needs to be done right.
Understanding the Harness
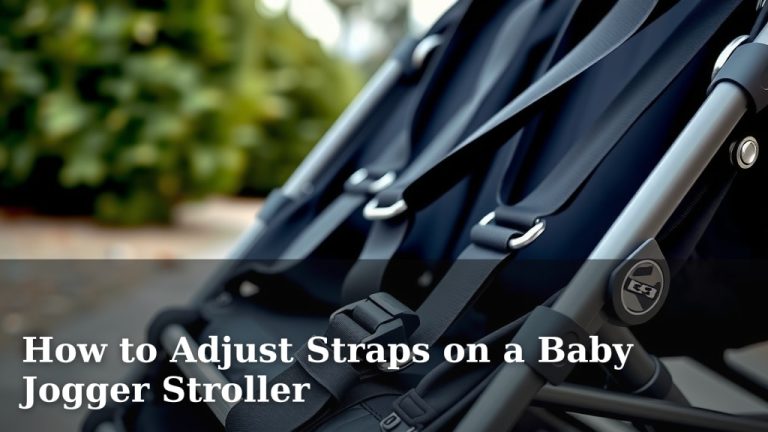
The harness typically includes shoulder straps, a waist strap, and a crotch strap. These all connect to a central buckle. Guidelines from organizations like the American Academy of Pediatrics (AAP) stress the importance of a well-fitting harness for preventing falls from strollers (AAP). Make sure the straps are adjustable. You’ll want them snug but not too tight for your baby’s comfort.
Step 5: Installing the Canopy and Accessories
Now for the fun stuff! Many strollers come with a canopy to shade your baby from the sun or light rain. This usually slides or clips onto the frame. Check the manual for the specific attachment points. Some strollers also include accessories like a parent tray, cup holders, or a child tray. Install these according to the instructions. These little additions can make your outings much more convenient.
Canopy Adjustments
Your canopy might have multiple positions for sun protection. Experiment with extending and retracting it. You want to make sure it offers good coverage without getting in the way. Some canopies also have a peek-a-boo window so you can see your baby easily.
Step 6: Final Safety Checks and Testing
Before you take your stroller out for its first official outing, a thorough safety check is essential. This is arguably the most important step. Double-check all connections you’ve made. Give the frame a gentle shake to ensure everything feels sturdy. Test the brakes – push them down and then release them. Make sure they engage firmly and disengage smoothly. This is vital for keeping the stroller stationary when you need it to be.
The Brake Test
Find a slight incline if possible. Apply the brakes and see if the stroller stays put. If it rolls even a little, re-check the brake mechanism. Reliable brakes are a key safety feature, especially when you’re on the go (Consumer Product Safety Commission recommendations often highlight this).
Weight and Maneuverability Test
Once you’re confident in the assembly and brakes, try pushing the stroller around. If you have a weighted object (like a large bag of groceries or even a securely bundled blanket), place it in the seat. This gives you a sense of how it handles with weight. Does it steer easily? Does it feel balanced? These little tests will give you peace of mind.
Quick Stroller Assembly Checklist
- Unpack and verify all parts against the manual’s list.
- Read the instruction manual from start to finish before assembly.
- Securely attach all wheels, ensuring they spin freely.
- Test the harness system to confirm it latches properly.
- Confirm all frame connections are tight and stable.
- Test the brakes thoroughly on a flat surface and a slight incline.
Conclusion
You’ve successfully navigated the assembly of your new baby stroller! Remember, taking your time and following each step carefully ensures a safe and reliable ride for your little one. By checking all parts, reading the manual, and performing those final safety checks, you’ve prepared for many happy outings. Now that it’s all put together, your stroller is ready for adventures. Enjoy your first stroll with your baby!
Frequently Asked Questions
What if I’m missing a part?
If you discover a missing part after unpacking, don’t panic. Your first step should be to contact the manufacturer’s customer service immediately. They can usually send replacement parts directly to you.
Can I assemble a stroller without tools?
Most modern strollers are designed for tool-free assembly. You’ll often just need to click or snap pieces into place. Always check your manual, as some models might require a basic tool like a screwdriver for a specific step.
How do I know if the brakes are working correctly?
After assembly, find a slight incline. Apply the brakes and ensure the stroller remains stationary. Then, release them and check that they disengage smoothly. Testing the brakes thoroughly is a critical safety step.
Are there different types of stroller harnesses?
Yes, strollers typically feature either a 5-point harness or a 3-point harness. The 5-point harness offers the most security, with straps over each shoulder, at the hips, and between the legs.
How do I clean the stroller after assembly?
Check your stroller’s manual for specific cleaning instructions. Generally, you can wipe down the frame with a damp cloth and use a mild soap for fabric parts. Spot cleaning is usually recommended for most fabric components.
![10 Best Baby Stroller 3 In 1 With Car Seat [2026]](https://bestbabystrollerjudge.com/wp-content/uploads/2026/08/10-best-baby-stroller-3-in-1-with-car-seat-2026-featured-1-768x432.jpg)